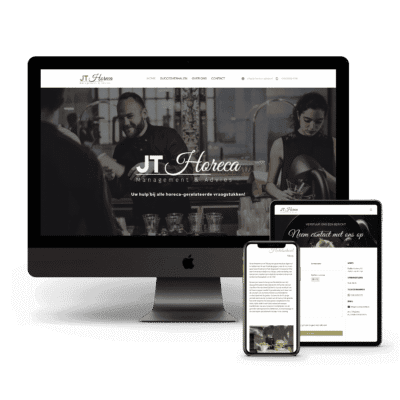
Resultaten die voor zich spreken
Elke ondernemer verdient een website die écht werkt. In mijn portfolio zie je hoe ik ondernemers help met praktische oplossingen die direct resultaat opleveren. Van complete websites tot slimme optimalisaties, het draait om jouw succes.

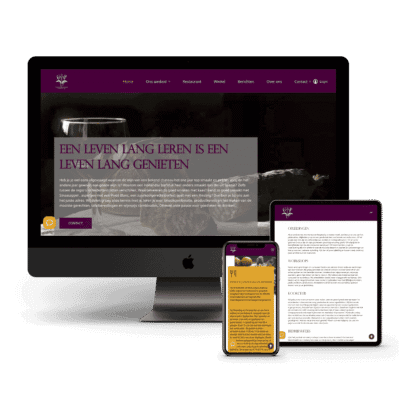
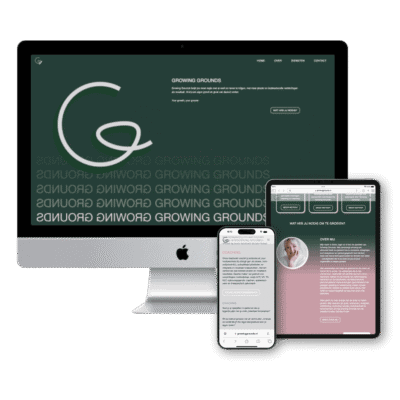

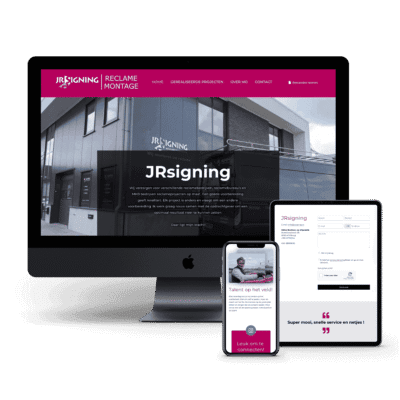
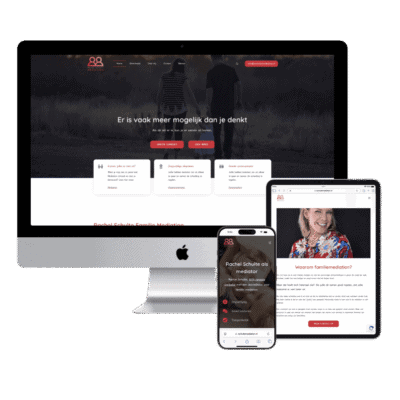
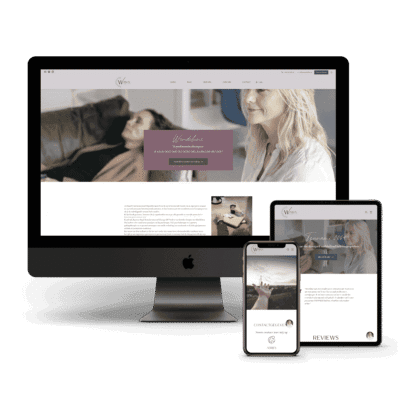
De website die je bedrijf verdient
Je website is je visitekaartje, je verkoopteam en je klantenservice in één. Daarom help ik ambitieuze ondernemers aan een website die niet alleen mooi is, maar ook écht resultaat oplevert. Zodat jij kunt focussen op wat je het beste doet: ondernemen.
Wat klanten zeggen
Note: The placeholder image sizes provided are examples only. You can use images as tall as you like.
The images are defined in the background settings of the style tab in each section. You need to add the same image to the static and hover states. The static state should have a background position of: Left 50%, Top 0%. The hover state should have a background position of: Left 50%, Top 100%.
You can adjust the speed of the scroll by adjusting the CSS in the Custom CSS box of the parent row.
.bb-scroll-screen-2 .kt-inside-inner-col {
transition: background-position 1s linear;
}
Adjust the 1s value above to control the time the image takes to return to its static state (on mouseout)
.bb-scroll-screen-2 .kt-inside-inner-col:hover {
transition: background-position 10s linear;
}
Adjust the 10s value above to control the speed the image scrolls on hover (on mouseover)
Because your images may not all be the same height, there is additional CSS in the Custom CSS box of each section that adjusts the start and end background position so your entire screenshot shows within the laptop frame:
selector .kt-inside-inner-col {
background-position: 50% -1%;
}
Adjust the -1% value above to control the start position of the background image. You can use decimal places to refine (E.g: 1.25%)
selector:hover .kt-inside-inner-col {
background-position: 50% 103%;
}
Adjust the 103% value above to control the end position of the background image. You can use decimal places to refine (E.g: 102.9%)
You are free to use the laptop image provided, but if you decide to change it, there are a couple of things to note:
Your image should have a transparent area where you want your screenshot to show, and any space around the frame image should be filled with a solid colour to prevent parts of the background screenshot showing outside the frame.
The background image size in the section background settings is set to Width: 85% on both static and hover states. You may need to adjust this width to make your background screenshot wider or narrower, so it fits inside your frame without cutting off the sides.